Open the minimap, select your destination on the full map, then follow its directions—the navigation flow shown in the August 29 walkthrough. Start with the checkpoint for a first crossing; choose the truck area for mission prompts, or the tunnel and apartments for the dated printer loop. Use the task table below to choose one route.
Guide reorganized October 5, 2026; the official checkpoint tutorial was rechecked that day. Navigation/trading evidence remains the August 29 video reviewed September 17. Routes below are task sequences, not a surveyed map or a new playtest.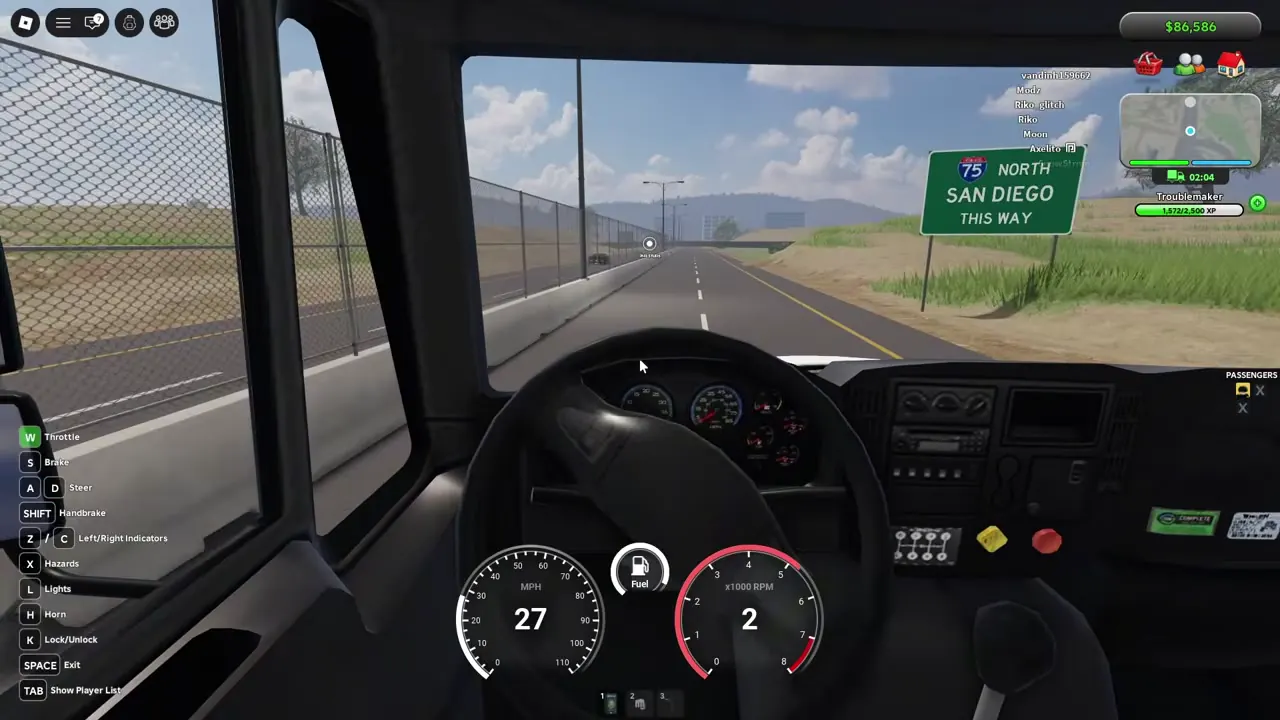 IN-GAME REFERENCE
How to open the map and find a destination
- 1. Open the minimap control. DustPlays' August 29 walkthrough shows it opening the full map; no universal keyboard shortcut is verified here.
- 2. Select a landmark that matches your task. For your first crossing, use the city checkpoint; for a job, read the mission prompt before setting off.
- 3. Follow the selected destination's directions. Use today's route indicator for turns instead of treating a video frame or this site's cover illustration as a road map.
- 4. At the destination, check the current interaction prompt. A map marker identifies a place; it does not prove you meet a job, team or purchase requirement.
Navigation sequence from the August 29 walkthrough, reviewed September 17. If the map control has moved, use the current UI; we have not verified an October button layout.
Choose a route by what you want to do
These are task sequences, not turn-by-turn driving directions. Pick one row, use current navigation between stops, and check the prompt at each stop.
| I want to… | Task sequence | Check before continuing |
|---|---|---|
| Enter the city for the first time | Vehicle → city checkpoint → approval or inspection → cleared crossing | Wait for the checkpoint authority; do not treat the gate as automatic clearance |
| Try a truck job | Truck-mission area → read/accept the current job → follow mission markers | Use the lane and destination requested by the mission; payouts and access may change |
| Understand money printers | Tunnel seller → confirm the current offer → apartment placement | This sequence comes from July gameplay. Check cash, housing and placement requirements before purchasing |
| Follow the laundering loop | Obtain a briefcase through the intended gameplay → find the laundering destination → check its prompt | Older footage places this at the laundromat. A bank visit alone does not guarantee a usable briefcase |
| Try vehicle trading | Find the parking-area trading-hub entrance shown in the dated walkthrough → check the current listing | Trading gold and ordinary cash are different in that walkthrough; read currency and terms before accepting |
Locations by purpose
| Location | Primary use | Related guide |
|---|---|---|
| Border checkpoint | Crossing, stamping and lane roleplay | Beginner / Border Patrol |
| Secondary Inspection | Detailed inspection and scanner | Teams / Leveling |
| Apartments | Housing and money printer placement | Money Printer |
| Tunnel | Printer seller in dated walkthroughs | Money Printer |
| Bank | Cash and heist-related economy | Money |
| Laundromat | Laundering route | Money |
| Weapon shop | Weapons and C4 shown in older gameplay | No dedicated walkthrough on this site |
| Beach houses | Property and garden route in older gameplay | No dedicated walkthrough on this site |
| Truck area | Truck missions and commercial lane | Money |
Cannot find the marker, entrance or seller?
| Problem | Next check |
|---|---|
| The landmark name is different | Match its purpose with the location table, then inspect the live map. Do not assume an older label still exists. |
| I reached the marker but cannot interact | Read the nearby prompt and check the role or mission requirement displayed in game. A location being listed here is not proof that every role has access. |
| The seller or entrance is not where the video shows | Check current game announcements and the in-game map. Treat the historical route as unconfirmed after the change; do not spend money to test an old claim. |
| The road sign matches but the next turn does not | Re-select your destination and follow current directions. The screenshot only establishes a historical landmark, not exact coordinates. |
Trading hub: a separate destination
The August 29 walkthrough describes a parking-area teleport into a trading hub, vehicle listings and a separate gold currency. Use its navigation segment at 00:45 and trading segment from 01:08 as dated visual references; both are linked in Sources.
Later entrance positions, trading rules, fees and eligibility have not been verified. An old listing price is not a current market value.
What this page does not claim
- It is not a measured overhead map.
- It does not publish exact coordinates or travel times.
- It does not list every decorative building or assume a real San Diego location exists in game.
- Locations may move after an update, so screenshots must carry a date when added.